

This tutorial will lead you through the steps of developing a tiny web application using Spring Boot. A JSP view will add and utilise static content (css and js).

You will learn
- How to bootstrap a simple project with Spring Initializr?
- How to initialize a basic web application for Spring Boot?
- How to add a JSP for web application?
- How to add static content - JS and CSS?
Tools you will need
- Maven 3.0+ is your build tool
- Your favorite IDE. We use Eclipse.
- JDK 1.8+
Overview of the Web application
We will create an unformatted static todo page rendered using a jsp.
Files
The screenshot below displays the eclipse project with all of the files we will be creating.
A brief overview of all files
SpringBootWebApplicationBootstrapJqueryApplication.java- Spring Boot Application class. This initializes the Spring Boot application with auto configuration.WelcomeController.java- A Controller with a method to redirect to the view - jsp.- welcome.jsp - The view - using the custom js and css.
application.properties- This is typically used to configure frameworks in Spring Boot. In this example, we would configure our view resolver in application.properties.- custom.css - contains some basic css.
- custom.js - contains a javascript alert.
Complete project on Github : https://github.com/in28minutes/spring-boot-examples/tree/master/spring-boot-web-application-bootstrap-jquery
Bootstrapping web application with Spring Initializr
Using Spring Initializr to create a Web application is a piece of cake.
Spring Initializr http://start.spring.io/ is great tool to bootstrap your Spring Boot projects.
As seen in the image above, the following actions must be taken.
- Launch Spring Initializr and choose the following
- Choose
com.in28minutes.springboot.web.applicationas Group - Choose
spring-boot-web-application-bootstrap-jqueryas Artifact - Choose following dependencies
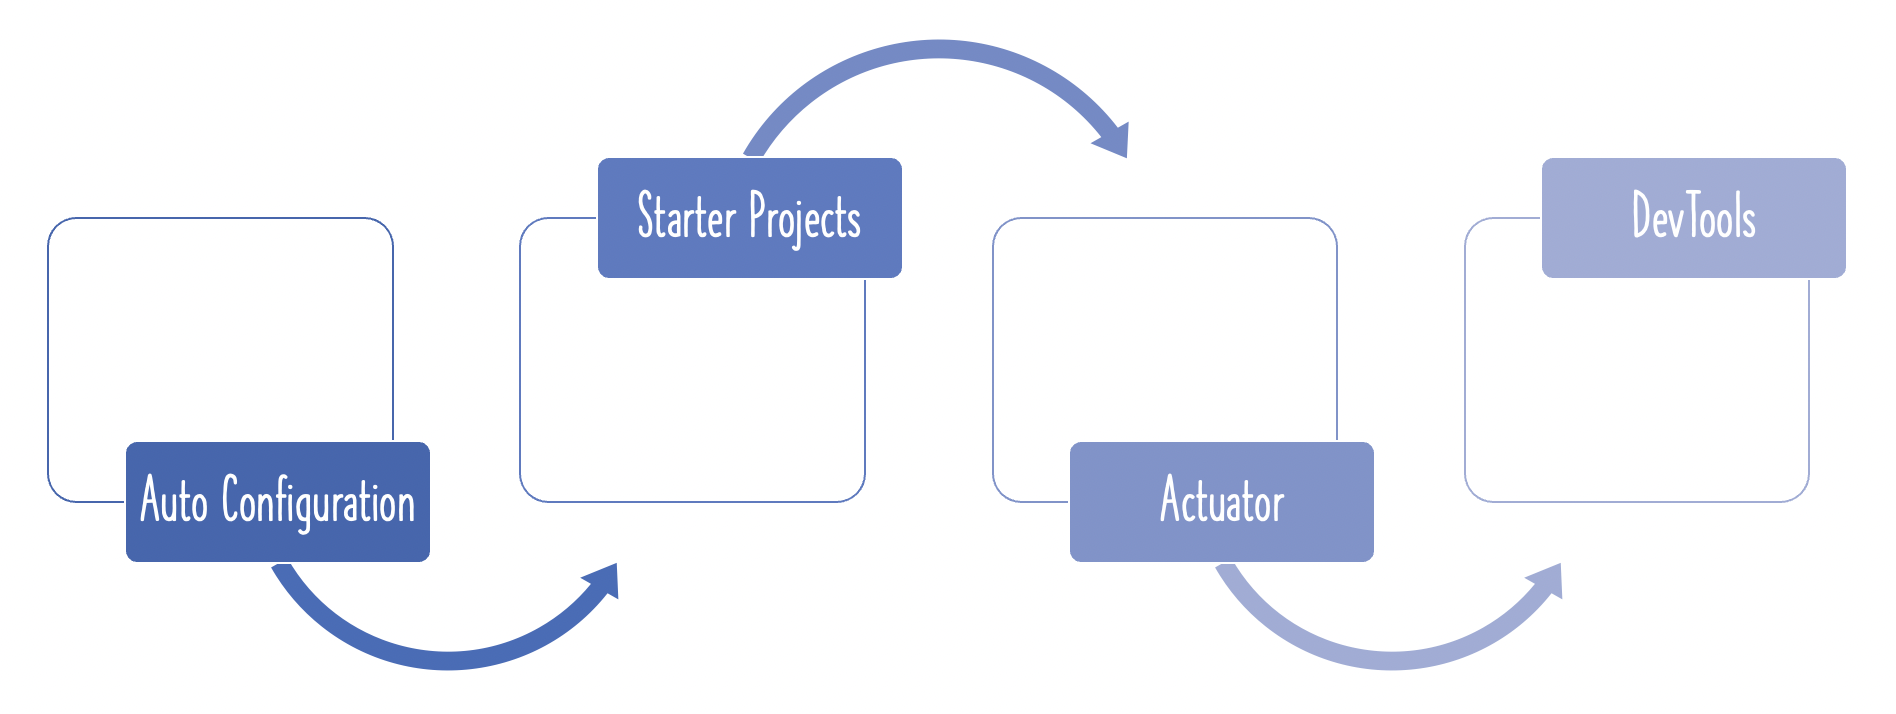
- Web
- Actuator
- DevTools
- Choose
- Click Generate Project.
- Import the project into Eclipse.
- If you want to understand all the files that are part of this project, you can go here.
Project Dependencies
Spring Boot Starter Web includes all of the dependencies and auto-configuration required to create web apps. That is the first dependence that we would employ.
<dependency>
    <groupId>org.springframework.boot</groupId>
    <artifactId>spring-boot-starter-web</artifactId>
</dependency>
As the view, we intend to utilise JSP. Tomcat is the default embedded servlet container for Spring Boot Starter Web. To enable JSP support, we’d need to add a reliance on tomcat-embed-jasper.
<dependency>
    <groupId>org.apache.tomcat.embed</groupId>
    <artifactId>tomcat-embed-jasper</artifactId>
    <scope>provided</scope> // default for IntelliJ IDE
</dependency>
Configuring a View Resolver
Our jsps would be under /WEB-INF/jsp/. The view resolver would need to be configured with the prefix and suffix.
spring.mvc.view.prefix=/WEB-INF/jsp/
spring.mvc.view.suffix=.jsp
Controller
Lets add in a simple controller redirecting to the view.
/src/main/java/com/in28minutes/springboot/tutorial/basics/application/configuration/WelcomeController.java
@Controller
public class WelcomeController {
    @RequestMapping("/welcome")
    public String loginMessage(){
        return "welcome";
    }
}
The url to this controlle method will be http://localhost:8080/welcome
Adding a view
Let’s start with a simple HTML structure. We’ll start by making a basic table, which we’ll prepare later.
/src/main/webapp/WEB-INF/jsp/welcome.jsp
<html>
<head>
    <title>Welcome</title>
</head>
<body>
    <div class="container">
        <table class="table table-striped">
            <caption>Your todos are</caption>
            <thead>
                <tr>
                    <th>Description</th>
                    <th>Target Date</th>
                    <th>Is it Done?</th>
                    <th>Edit</th>
                    <th>Delete</th>
                </tr>
            </thead>
            <tbody>
                    <tr>
                        <td>Todo 1</td>
                        <td>10/12/2017</td>
                        <td>No</td>
                        <td><a class="btn btn-warning" href="/edit-todo">Edit Todo</a></td>
                        <td><a class="btn btn-warning" href="/delete-todo">Delete Todo</a></td>
                    </tr>
            </tbody>
        </table>
        <div>
            <a class="btn btn-default" href="/add-todo">Add a Todo</a>

        </div>
    </div>
</body>
</html>
Adding Static Content CSS and JS
The recommended folder for static content is /src/main/resources/static.
As stated below, we will generate the CSS. It gives the body of the page a light blue background colour.
/src/main/resources/static/css/custom.css
body {
    background-color: lightblue;
}
We will create a custom js file throwing an alert
/src/main/resources/static/js/custom.js
alert("I'm active");
Using JS and CSS in View
Referring to JS file
<script src="js/custom.js"></script>
Referring to jQuery js
<link href="css/custom.css"
        rel="stylesheet">
Complete updated view is shown below.
/src/main/webapp/WEB-INF/jsp/welcome.jsp
<html>
<head>
    <title>Welcome</title>
    <link href="css/custom.css"
        rel="stylesheet">
</head>
<body>
    <div class="container">
        <table class="table table-striped">
            <caption>Your todos are</caption>
            <thead>
                <tr>
                    <th>Description</th>
                    <th>Target Date</th>
                    <th>Is it Done?</th>
                    <th>Edit</th>
                    <th>Delete</th>
                </tr>
            </thead>
            <tbody>
                    <tr>
                        <td>Todo 1</td>
                        <td>10/12/2017</td>
                        <td>No</td>
                        <td><a class="btn btn-warning" href="/edit-todo">Edit Todo</a></td>
                        <td><a class="btn btn-warning" href="/delete-todo">Delete Todo</a></td>
                    </tr>
            </tbody>
        </table>
        <div>
            <a class="btn btn-default" href="/add-todo">Add a Todo</a>

        </div>
        <script src="js/custom.js"></script>
    </div>
</body>
</html>
Just Released