

This post will walk you through the process of creating a small web application with Spring Boot. We will include the Bootstrap and jQuery webjar requirements. Using jQuery and Bootstrap, we will build a basic jsp view.

You will learn
- How to bootstrap a simple project with Spring Initializr?
- How to initialize a basic web application for Spring Boot?
- How to add a JSP for web application?
- How to add webjars for jQuery and Bootstrap?
- How to create a simple view using jQuery and Bootstrap?
Tools you will need
- Maven 3.0+ is your build tool
- Your favorite IDE. We use Eclipse.
- JDK 1.8+
Overview of the Web application
We will create an unformatted static todo page rendered using a jsp.
Files
The screenshot below displays the eclipse project with all of the files we will be creating.

A brief overview of all files
SpringBootWebApplicationBootstrapJqueryApplication.java- Spring Boot Application class. This initialized the Spring Boot application with auto configuration.WelcomeController.java- A Controller with a method to redirect to the view - jsp.- welcome.jsp - The view - uses Jquery and Bootstrap.
pom.xml- We will add the webjar dependencies for Bootstrap and jQuery to pom.xml.application.properties- This is typically used to configure frameworks in Spring Boot. In this example, we would configure our view resolver in application.properties.
Complete project on Github : https://github.com/in28minutes/spring-boot-examples/tree/master/spring-boot-web-application-bootstrap-jquery
Bootstrapping web application with Spring Initializr
Using Spring Initializr to create a Web application is a piece of cake.
Spring Initializr http://start.spring.io/ is great tool to bootstrap your Spring Boot projects.
As shown in the image above, following steps have to be done
- Launch Spring Initializr and choose the following
- Choose
com.in28minutes.springboot.web.applicationas Group - Choose
spring-boot-web-application-bootstrap-jqueryas Artifact - Choose following dependencies
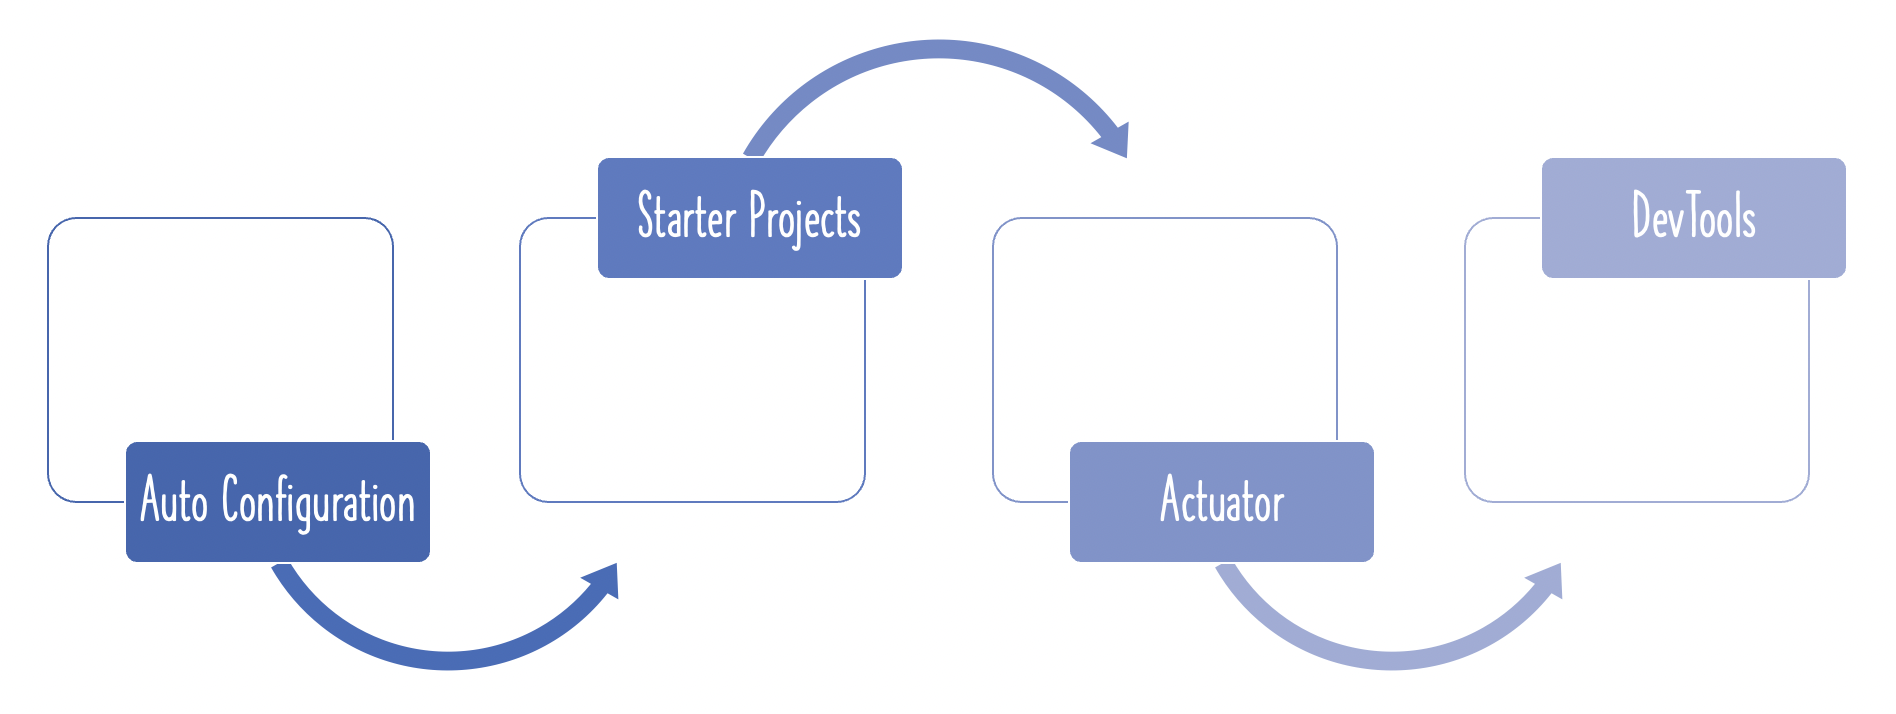
- Web
- Actuator
- DevTools
- Choose
- Click Generate Project.
- Import the project into Eclipse.
- If you want to understand all the files that are part of this project, you can go here.
Project Dependencies
Spring Boot Starter Web includes all of the dependencies and auto-configuration required to create web apps. That is the first dependence that we would employ.
<dependency>
    <groupId>org.springframework.boot</groupId>
    <artifactId>spring-boot-starter-web</artifactId>
</dependency>
As the view, we intend to utilise JSP. Tomcat is the default embedded servlet container for Spring Boot Starter Web. To enable JSP support, we’d need to add a reliance on tomcat-embed-jasper.
<dependency>
    <groupId>org.apache.tomcat.embed</groupId>
    <artifactId>tomcat-embed-jasper</artifactId>
    <scope>provided</scope> // default while using IntelliJ IDE
</dependency>
Configuring a View Resolver
Our jsps would be under /WEB-INF/jsp/. The view resolver would need to be configured with the prefix and suffix.
spring.mvc.view.prefix=/WEB-INF/jsp/
spring.mvc.view.suffix=.jsp
Controller
Let’s build a basic controller that redirects to the view.
/src/main/java/com/in28minutes/springboot/tutorial/basics/application/configuration/WelcomeController.java
@Controller
public class WelcomeController {
    @RequestMapping("/welcome")
    public String loginMessage(){
        return "welcome";
    }
}
The url to this controlle method will be http://localhost:8080/welcome
Adding a view
Let’s start with a simple HTML structure. We’ll start by making a basic table, which we’ll prepare later.
/src/main/webapp/WEB-INF/jsp/welcome.jsp
<html>
<head>
    <title>Welcome</title>
</head>
<body>
    <div class="container">
        <table class="table table-striped">
            <caption>Your todos are</caption>
            <thead>
                <tr>
                    <th>Description</th>
                    <th>Target Date</th>
                    <th>Is it Done?</th>
                    <th>Edit</th>
                    <th>Delete</th>
                </tr>
            </thead>
            <tbody>
                    <tr>
                        <td>Todo 1</td>
                        <td>10/12/2017</td>
                        <td>No</td>
                        <td><a class="btn btn-warning" href="/edit-todo">Edit Todo</a></td>
                        <td><a class="btn btn-warning" href="/delete-todo">Delete Todo</a></td>
                    </tr>
            </tbody>
        </table>
        <div>
            <a class="btn btn-default" href="/add-todo">Add a Todo</a>

        </div>
    </div>
</body>
</html>
Webjars for jQuery and Bootstrap
Let’s now include the webjars in our pom.xml file.
<dependency>
    <groupId>org.webjars</groupId>
    <artifactId>bootstrap</artifactId>
    <version>3.3.6</version>
</dependency>

<dependency>
    <groupId>org.webjars</groupId>
    <artifactId>bootstrap-datepicker</artifactId>
    <version>1.0.1</version>
</dependency>

<dependency>
    <groupId>org.webjars</groupId>
    <artifactId>jquery</artifactId>
    <version>1.9.1</version>
</dependency>
Using Web Jars in View
Restart the application, and we’re ready to use jquery and bootstrap in our project.
You should be able to view the dependencies if you increase your dependencies.
Referring to bootstrap css
    <link href="webjars/bootstrap/3.3.6/css/bootstrap.min.css"
        rel="stylesheet">
Referring to Bootstrap js
<script src="webjars/bootstrap/3.3.6/js/bootstrap.min.js"></script>
Referring to jQuery js
<script src="webjars/jquery/1.9.1/jquery.min.js"></script>
Update view using jQuery and Bootstrap is shown below.
/src/main/webapp/WEB-INF/jsp/welcome.jsp
<html>
<head>
    <title>Welcome</title>
    <link href="webjars/bootstrap/3.3.6/css/bootstrap.min.css"
        rel="stylesheet">
</head>
<body>
    <div class="container">
        <table class="table table-striped">
            <caption>Your todos are</caption>
            <thead>
                <tr>
                    <th>Description</th>
                    <th>Target Date</th>
                    <th>Is it Done?</th>
                    <th>Edit</th>
                    <th>Delete</th>
                </tr>
            </thead>
            <tbody>
                    <tr>
                        <td>Todo 1</td>
                        <td>10/12/2017</td>
                        <td>No</td>
                        <td><a class="btn btn-warning" href="/edit-todo">Edit Todo</a></td>
                        <td><a class="btn btn-warning" href="/delete-todo">Delete Todo</a></td>
                    </tr>
            </tbody>
        </table>
        <div>
            <a class="btn btn-default" href="/add-todo">Add a Todo</a>

        </div>
        <script src="webjars/jquery/1.9.1/jquery.min.js"></script>
        <script src="webjars/bootstrap/3.3.6/js/bootstrap.min.js"></script>
    </div>
</body>
</html>
Spring Boot would configure the webjars resource mapping automatically. Therefore you NO LONGER NEED TO DO THIS.
<mvc:resources mapping="/webjars/**" location="/webjars/"/>
Just Released